The Challenge
“How can I help busy office workers,
reduce stress through a product?”
Stress is the second most frequently reported work-related health problem.
A build-up of stress can make people become less engaged in their work, it can also stump their productivity.
But how could I help individuals reduce stress via a product?
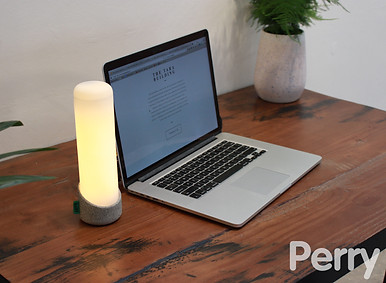
Perry - Process
The following blog will explain the process of creating Perry from start to finish
Just Breathe!
The idea for my stress-reducing light came to me while sketching out other well-being ideas. I was thinking about how there isn't a practical way to reduce stress and how gentle, rhythmic motion can be soothing.
That's when I thought of a breathing light with a softly lit, uniform motion. The idea of 'just breathe' seemed cheesy at first, but I was drawn to it because it was something I could see as a product. It developed into a mood lamp with a focus on simplicity and ease in reducing stress.

Breathing Meditation

But how exactly would I make it work? I began researching various methods of meditation. A lot of meditation practices are performed by controlling breathing and body movement. I decided to use the breathing techniques I found and adapt to this light.
I picked 2 techniques that I would use.
Triangle breathing: Done by inhaling, hold the breath, then slowly exhaling
Extended exhale: Instead of breathing regularly, the user must exhale for longer when they breathe. For example, breathe in for 4 seconds and exhale for 6.

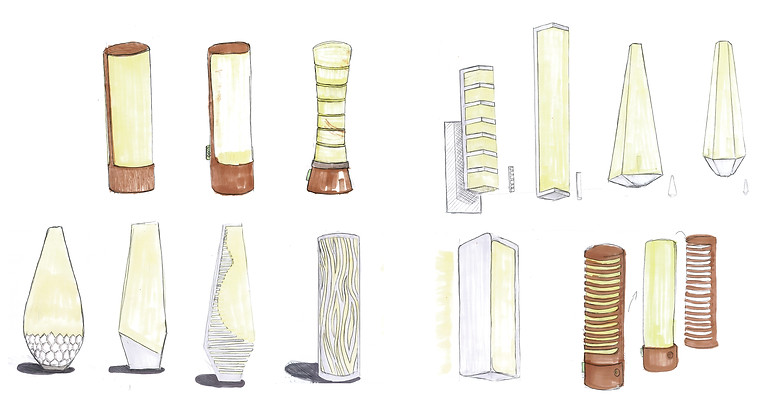
Early concept sketches inspired by
elements like mushrooms, moon,
and the sun
Concepting
1.
2.
3b.
3.
Concepting Continued
1. Iterations of perry using exotic teak-like wood for the base to create a natural feel.
2. First appearance of the Perry label.
3-3b. A selection of designs using concrete bases and elements.
4. Wooden base designs with different interfaces for operating Perry

The Coffee Stain incident
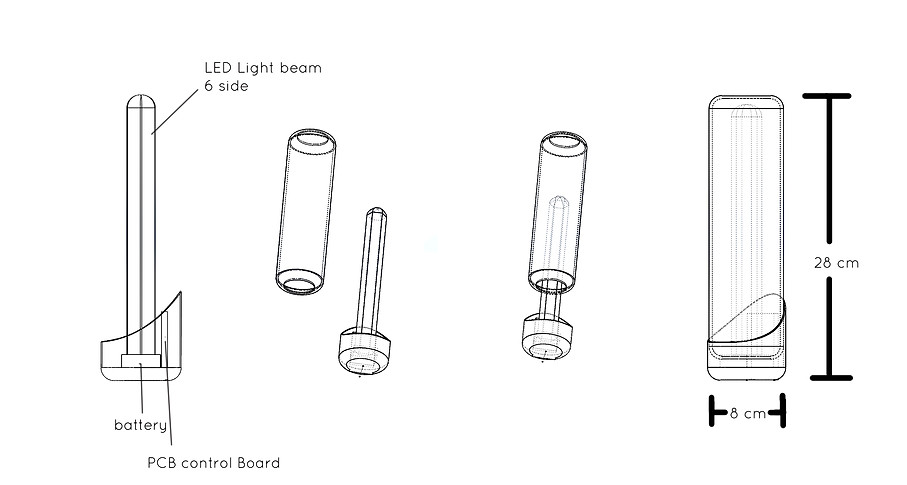
While designing Perry, I conducted research on how individuals use their workspace. I noticed that nearly everyone reserved space for a coffee or tea mug, leading me to further develop my strongest concept for Perry, a tall cylindrical shape that doesn't take up more desk space than a coffee mug.


Material
The initial stages of this project were heavily influenced by biophilic design, which I wanted to carry on through the rest of the project.
While some of my other concepts included biophilic elements, it was difficult to integrate them seamlessly into Perry.
Therefore, I decided to use a natural-like material for the base of Perry.
Initially, I considered using wood but ultimately discarded this idea as it felt stale and dated.
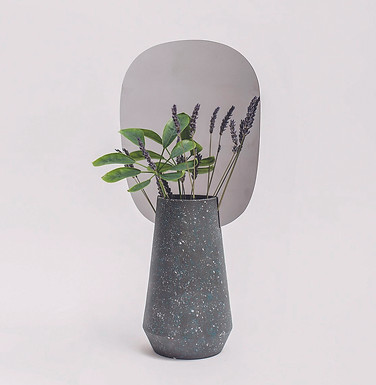
After testing concrete, I became concerned that it might give Perry a cold, industrial feel, which would not be ideal for a product that is meant to be comforting.
I ultimately decided to switch to ceramic, which would still give me the stone-like look I desired, but with a softer and more customizable tone palette with the option of adding dyes, glazes, and other elements.
Ceramic proved to be the perfect choice for achieving my desired aesthetic while maintaining a comforting atmosphere.
Light Diffuser
For the lampshade, I wanted something that would diffuse light well and have a soft appearance. I initially considered silicone, but it was too soft for my needs and it would be difficult to maintain a brilliant white color.
Polyurethane was my next option, but it didn't achieve the desired look and feel and I thought it would not age well.
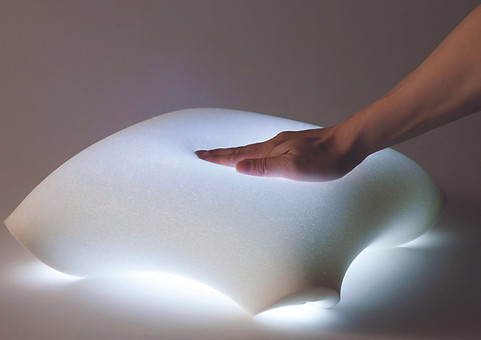
In the end, I chose to use a hard plastic, specifically opal polycarbonate, as it diffused light well and was a durable material that would last a long time without being easily damaged.
Brand Identity


Examples of Polycarbonate lamp shades
From the very beginning, I knew that creating a strong brand identity would be crucial for this product. As a lighting object, it needed to evoke a sense of warmth and friendliness in order
to truly comfort users.
With that in mind, I set out to find the perfect name for this product.
After much brainstorming, the name Perry emerged
as a standout option - unique, quirky, and memorable. Feedback from early introductions to the project reinforced that Perry was the right choice, as people consistently noted that the name lent a sense of character to the product.
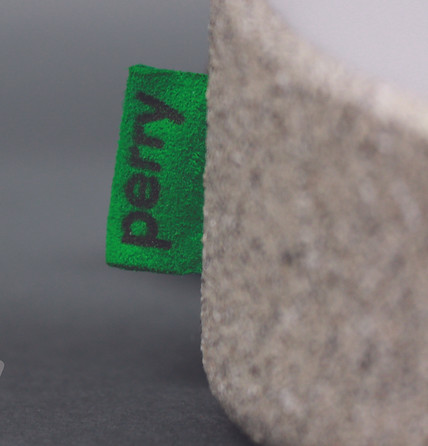
To further enhance the brand, I decided to introduce the bright green label, which is prominently placed on the product's silhouette. This eye-catching element serves to give Perry a distinct trait, and ultimately solidifies the brand identity.


Electronics
Electrics Part list
DotStar LED Strip
Flora v 3 Microcontroller
Arduino uno for progarming
8 rotary switch
5v Power source
Electronics
Real World Product
I designed and built an LED circuit that would create a dynamic movement of light.
The circuit was set up in a parallel configuration, allowing the lights to run up the interior of the light fixture.
To achieve the desired result I wrote code and configured a microcontroller to an Arduino pro.
The production version of Perry would feature high-quality materials such as ceramic and polycarbonate, whereas the prototype version utilized acrylic and cibatool due to the cost and accessibility constraints.
Ceramic will be used to create the base of the lamp through a slip casting process. Once removed from the mold, all necessary holes will be punched out, and the base will be fired in a kiln for strength. A second firing will take place once a colored glaze has been applied.
Polycarbonate, a durable and resilient plastic, will be used for the lampshade. It offers a longer lifespan and superior resistance to scratching compared to acrylic. The polycarbonate will be vacuum formed to achieve a seamless shape, resulting in no visible joints.


Making of the Prototype
To create the prototype of the model, I utilized a vacuum-forming technique with acrylic material. I carefully heated the plastic until it was pliable and then carefully shaped it around a cylindrical form made of cibatool. I used a bonding agent to seal the seam. I had to trim the ends of the shade, which had flared out during the thermoforming process. I also thoroughly sanded the entire cylinder to create a smooth and uniform surface.


To complete the light shade, the top part was also thermoformed by creating a mold and jig. The mold was used to clamp down and shape the acrylic into a round shape. I then bonded the two parts of the shade together using adhesive.
I finished by cleaning up the surface of the shade with sandpaper.
To evaluate the final result, I conducted a light test by shining a flashlight through the opal acrylic to observe the diffusion effect.
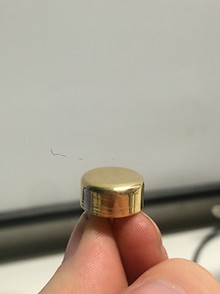
I used SolidWorks to design a 3D model for the base of the lamp, which was then CNC machined. In addition, I used a metal turning lade and created the knob for the rotary switch.



The label which I made using green dyed suade.

The base is painted with a speckled effect paint to imitate a ceramic finish.
Perry - The Finished Product


